 Bitcoin Staking onboarding docs
01 · Prepare
Get your team and devices ready.
Your organization decides who controls the accounts. Write that decision down for your own records. The Enrollment Record you receive later from the Stacks Endowment confirms the bond details.
Member
A person whose Ledger account belongs to the multisig.
Vault
A vault organizes one or more vault accounts that share the same members and blockchain.
Vault account
The on-chain multisig address created inside a vault. It holds assets and has its own signing threshold.
Signer-manager
The protocol operator chosen later. It is a contract.
- One Ledger device for each member
- Bitcoin and Stacks apps installed on each Ledger device
- Leather extension in each member's browser profile
- Approved members and signing threshold
- Your Stacks Endowment agreement with the approved bond values
- Your Stacks Endowment contact
02 · Connect each Ledger device
Connect each member's Bitcoin and Stacks accounts.
Who: every member, in their own browser profile. This identifies the personal Ledger accounts that will become members of both vaults.
- Plug the member's Ledger device into the computer and unlock it.
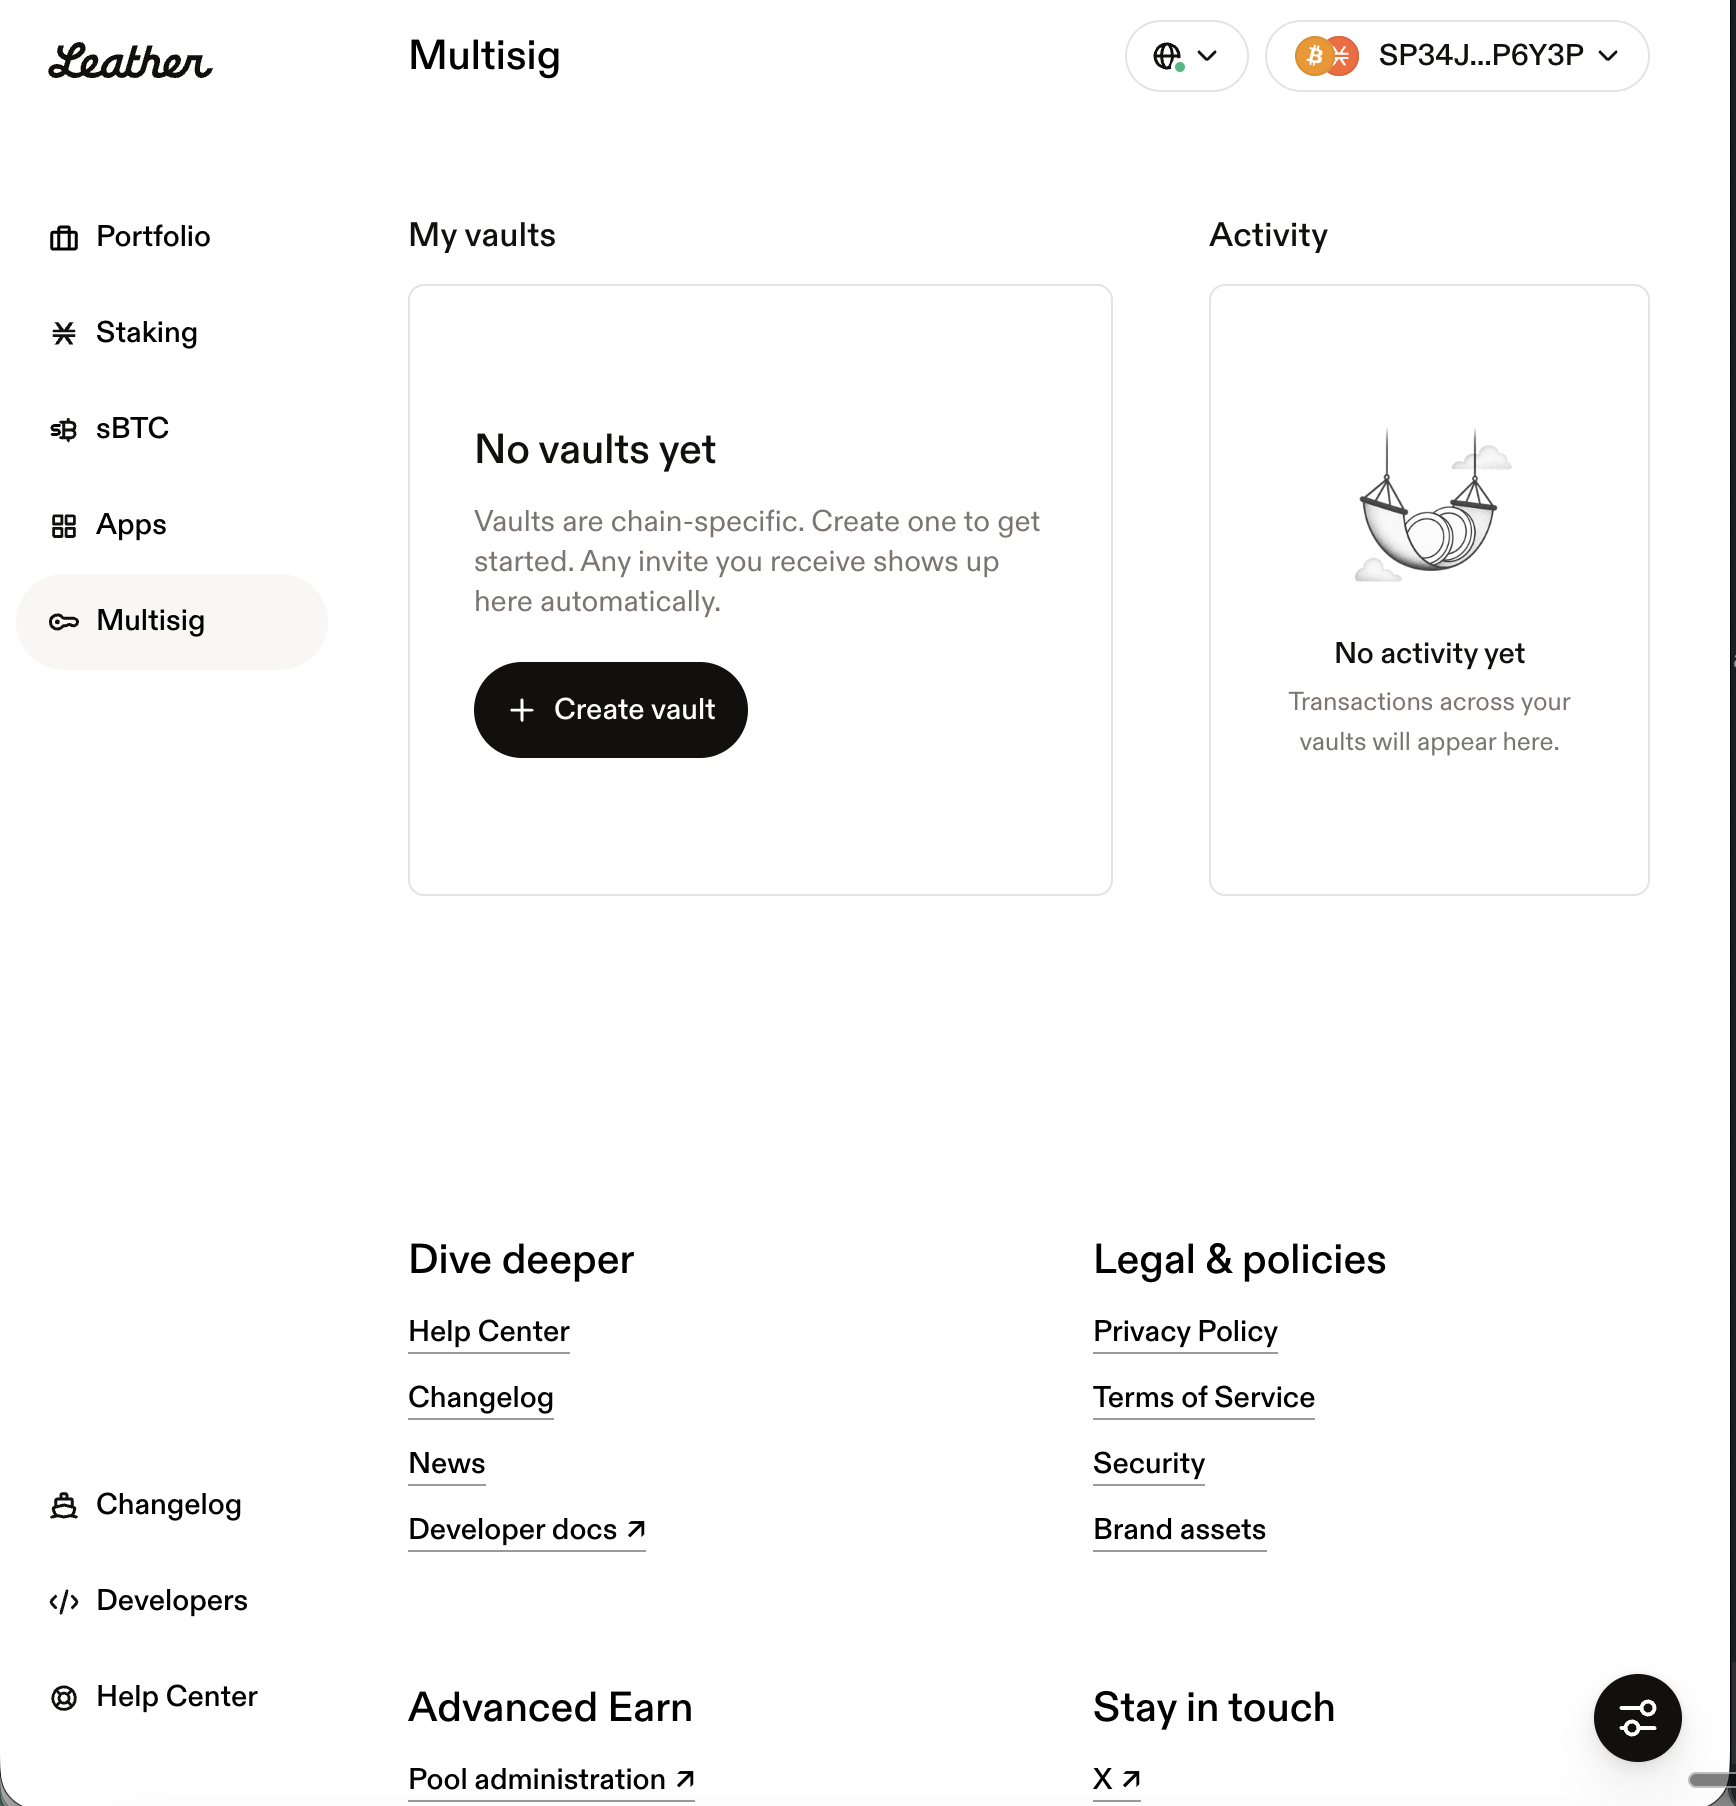
- Open app.leather.io/multisig. Under Get started with Leather Multisig, select Connect Stacks.
- On the Ledger device, open the Stacks app. In Leather, select the Stacks account approved for this member, select Confirm, then approve the authentication message on the Ledger device.
- On the Ledger device, close the Stacks app and open the Bitcoin app. In Leather, select Connect Bitcoin, choose the Bitcoin account approved for this member, then select Confirm.
- Open Leather's network menu and confirm Mainnet is selected for both Bitcoin and Stacks.
- Share the complete addresses with the coordinator through your trusted team channel.
- Repeat for every member.
03 · Create both vaults
Create your Bitcoin vault and your Stacks vault.
Who: the coordinator. A separate vault is required for each blockchain.
It doesn't matter what order you create the vaults in. You just need to go through the process with both.
- Select Create vault and enter a clear name.
- Select Bitcoin multisig.
- Add every member's complete Bitcoin address and a recognizable member name.
- Double-check that you have everyone you intend to include. You cannot change the vault's members after you create it.
- Select Create vault.
- Repeat with Stacks multisig and the same approved members' Stacks addresses.
04 · Accept invitations
Have every member join both vaults.
Who: every member. Each member accepts one Bitcoin vault invitation and one Stacks vault invitation.
- The coordinator opens a vault and selects Share invite for a pending member.
- Send the invitation through your trusted team channel.
- The member opens it in the browser profile containing the matching Ledger account.
- They review the vault name, inviter, chain, member count, and roster.
- They select Accept invitation, then repeat for the other vault.
05 · Create vault accounts
Create the two on-chain accounts.
Who: the coordinator. A vault contains the members. A vault account is the actual on-chain multisig account with its own signing threshold.
- Open the Bitcoin vault and select Create new account.
- Give it a recognizable name and select the threshold your organization approved with the Stacks Endowment.
- Select Create vault account.
- Repeat inside the Stacks vault.
- Save both complete vault account addresses in your own records. You will need them for whitelisting and registration later. For a quick visual check, a Mainnet Bitcoin vault account begins with bc1q..., and a Mainnet Stacks multisig vault account begins with SM....
06 · Add to wallet
Add both vault accounts to Leather.
Who: the coordinator with a second reviewer. This makes the accounts available in Leather's account selector and to the Bitcoin Staking app.
- Open the Bitcoin vault account and select Add to wallet.
- On the Ledger device, open the Bitcoin app and review the account information.
- Approve on the Ledger device only if the chain, threshold, members, and complete address agree with the setup your organization approved.
- Repeat for the Stacks vault account with the Stacks app open on the Ledger device.
- Open Leather's account selector and confirm both named accounts appear.
07 · Whitelist
Submit your addresses for whitelisting.
Who: the coordinator and your Stacks Endowment contact. Funding happens in Guide 2, after your addresses are approved and your Enrollment Record has arrived.
- Have a second person compare both complete vault account addresses with Leather.
- Open the whitelisting form at stacksendowment.co/bond-enroll.
- Enter your entity details and the complete Stacks vault account address. Add the Bitcoin address holding the BTC you are using to participate.
- Wait for your Stacks Endowment contact to confirm in writing that your addresses are approved. Keep that confirmation with your records.
- The Stacks Endowment sends you your Enrollment Record once the bond’s terms are final. Keep it for Guide 2.
Troubleshooting
Leather cannot connect to the Ledger device
Close Ledger Live and other Leather windows. Reconnect the Ledger device, unlock it, open the correct chain app on the device, approve the browser USB prompt, and retry.
A member cannot accept an invitation
Confirm they opened the invitation in the browser profile containing the exact Ledger account added to the vault. Resend that member's invitation if needed.
Failed to add the vault account to Leather
Refresh Leather Multisig, open the matching Bitcoin or Stacks app on the Ledger device, and retry from the vault account page. Contact your Stacks Endowment contact if it still fails.
The address shown on the Ledger device is different
Reject the request on the Ledger device. Compare the complete account address, members, and threshold with the setup your organization approved before trying again.